By Clipback
The shot plays, then stutters as you scrub back to an edit point. Moving the project to a colleague's laptop creates another problem: the timeline opens, but some of the media is missing. The edit needs a working media plan as well as a good sequence.
A video proxy workflow uses lighter editing copies linked to your source clips. You cut with those copies when they help playback, keep the originals organized, and check which media your editor will use when exporting. For a small team, the useful part is making that process repeatable on the next computer.
This guide covers a practical way to test proxies, keep the media relationships clear, and hand off a project without relying on someone remembering where the files went.
Download the proxy workflow checklist → A free plain-text checklist with a media handoff note. No signup required.
Keep originals, proxies, and review exports distinct
A proxy is an editing copy of a source clip. A review export is a rendered version of your sequence. Treating both as “the small video file” makes a handoff harder to understand.
| File type | Purpose | What to keep clear |
|---|---|---|
| Camera original | The source recording available for finishing and export. | Its filename, folder or card context, and storage location. |
| Editing proxy | An alternate media file associated with that source clip in the editor. | Which original it belongs to and whether the association works. |
| Review export | A viewable cut of the edited sequence. | Its version, review purpose, and any unfinished work. |
Adobe's proxy creation guide describes lower-resolution media used to improve editing performance. The exact controls depend on the editor, so use its supported proxy workflow rather than simply replacing source clips with compressed files.
Test whether proxies address the problem
Choose a short section that is difficult to work with and compare it with a simple source clip. Check whether the slowdown follows the footage, an effects-heavy section, or a particular part of the project. A proxy test is useful evidence; it does not promise that every playback problem will disappear.
Before processing a whole shoot, pick a few representative clips: one with camera movement, one with important detail, and one with the audio arrangement you expect to use. Generate a small test batch and check it in the actual project. Include the colleague's computer if that is where the next stage of editing will happen.
1. Give the originals a stable home
Keep source media separate from generated files and exports. Preserve the folder structure that gives the clips their context, especially when filenames repeat across camera cards. A filename such as C001.mp4 may not uniquely identify a shot on its own.
Here is an illustrative folder layout for a two-person mountain-film project. Adapt it to the camera format and your editor's media-management requirements:
MountainFilm/
  01_Originals/
    CameraA/Card01/
    Drone/Card01/
  02_Proxies/
    CameraA/Card01/
    Drone/Card01/
  03_Project/
  04_Audio_Graphics/
  05_Review_Exports/
  06_Delivery/
  Media_Handoff.txt
Agree who holds the originals and who will prepare the final export. Record that before sending a project with proxies only. Keep a separate backup of the source material; generating an editing copy does not establish that you can recover the originals.
2. Pick a supported preset and test the result
Start with a proxy preset supported by your editor. For example, Premiere's current Create Proxies workflow offers a Half frame-size setting and a ProRes QuickTime Proxy preset. These are application settings to test, rather than a universal prescription for every project.
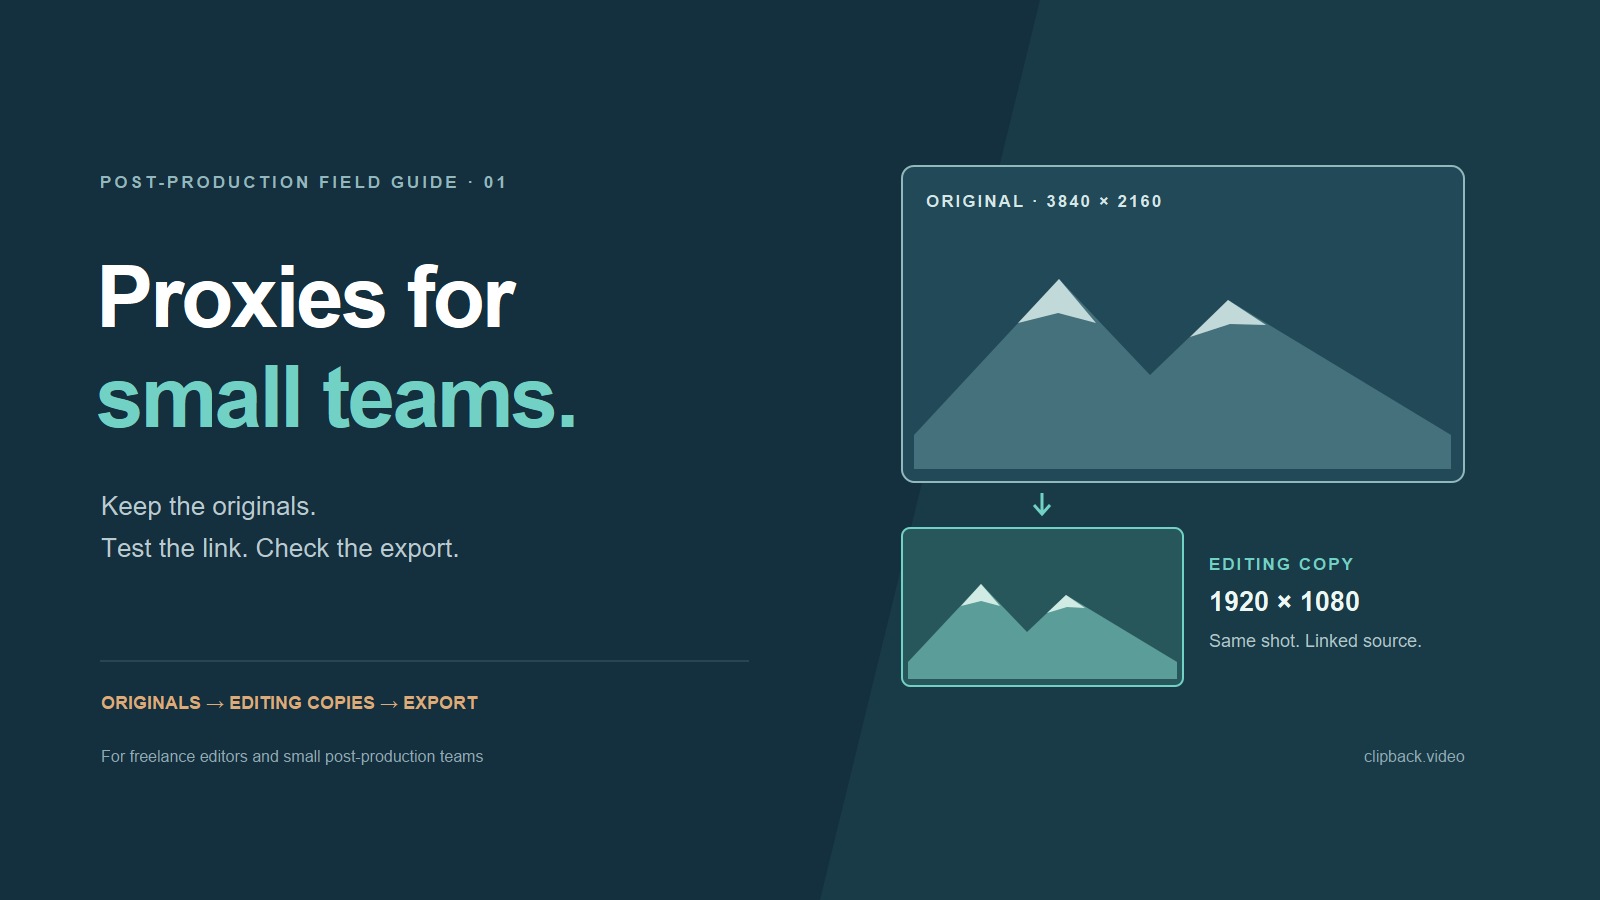
In a simple 16:9 example, reducing a 3840 × 2160 image to 1920 × 1080 halves each dimension and leaves a quarter as many pixels. That arithmetic does not tell you the resulting file size or playback speed. Check the actual files and the actual timeline.
For each test clip, compare the intended frame rate, clip duration, first and last usable moments, and required audio channels. Listen as well as looking. If speech or separate sound matters to the project, check sync at more than one point. Resolve a mismatch before generating the remaining footage.
3. Attach the proxies and check the association
Use the editor's proxy-attachment controls to associate each copy with its original. In Premiere, Attach Proxies can match media using properties including filenames, tape names, and timecode. A successful match still deserves a visual check when a shoot contains repeated names.
Switch between original and proxy views on several clips. Confirm that you are seeing the same take and moment, and that the framing is what you expect. Check a clip from each source folder, not just the first item that linked successfully.
Save the project, close it, and open it again. For a handoff, have the receiving editor open the transferred project and repeat that check. Discovering an association problem in a short test is easier to manage than finding it after the whole edit has moved.
4. Send a media map with the project
A transfer needs more context than “the proxies are in the folder.” Include a small handoff note explaining what is present, where the originals live, and who owns the next export.
MEDIA HANDOFF

Project file / saved version:
Editor and application version:
Original-media folder or card layout:
Proxy-media folder:
Proxy preset / frame size:
Important frame-rate or audio differences between source groups:
How to confirm which media is active:
Who holds the originals:
Who will reconnect and prepare the finishing export:
Known offline files / missing dependencies:
Receiving editor's opening and playback check: Pending / Complete
Also include the sound, graphics, fonts, and other dependencies needed to understand the sequence. Keep unresolved items visible. If one editor can work on structure with proxies while another holds the finishing media, say that explicitly.
5. Check the export's media source
Do not assume that the viewer's proxy toggle tells you what every application will export. Adobe says Premiere normally exports from full-resolution media, with a separate Use Proxies export option. Check that option against your intended output. See Adobe's export guidance.
Apple's Final Cut Pro guide instructs editors using proxy playback to switch back to optimized/original media before sharing. The practical check is the same: confirm that the required finishing media is available and selected for the intended export.
Render a short representative section before the full delivery. Inspect the exported file for the correct shots, detail, framing, graphics, and audio. Check the exported file itself; a clean-looking timeline is a different check.
When something looks wrong
| Symptom | Useful next check |
|---|---|
| A clip shows the wrong take. | Compare the original's folder context and the attached filename. Recheck repeated names before accepting automatic matches. |
| Audio or timing changes when switching media. | Compare the test clip's duration, frame rate, audio channels, and sync. Correct the test workflow before processing another batch. |
| The transferred project has offline media. | Read the missing-file paths and compare them with the handoff note. Confirm which media was actually included. |
| The export looks softer than expected. | Check the export's media source and output settings, then compare a representative section with the intended finishing source. |
A repeatable proxy workflow
Keep the originals identifiable, test a small batch, confirm the attachments, and make the handoff understandable to someone else. Before delivery, check both the selected media and the rendered output. Those checks remain useful even when the project moves between people or computers.
Save the checklist and handoff note for your next project. The folder names and examples here are suggestions, not a performance benchmark or a substitute for testing your own media.
Put the cut in front of your client
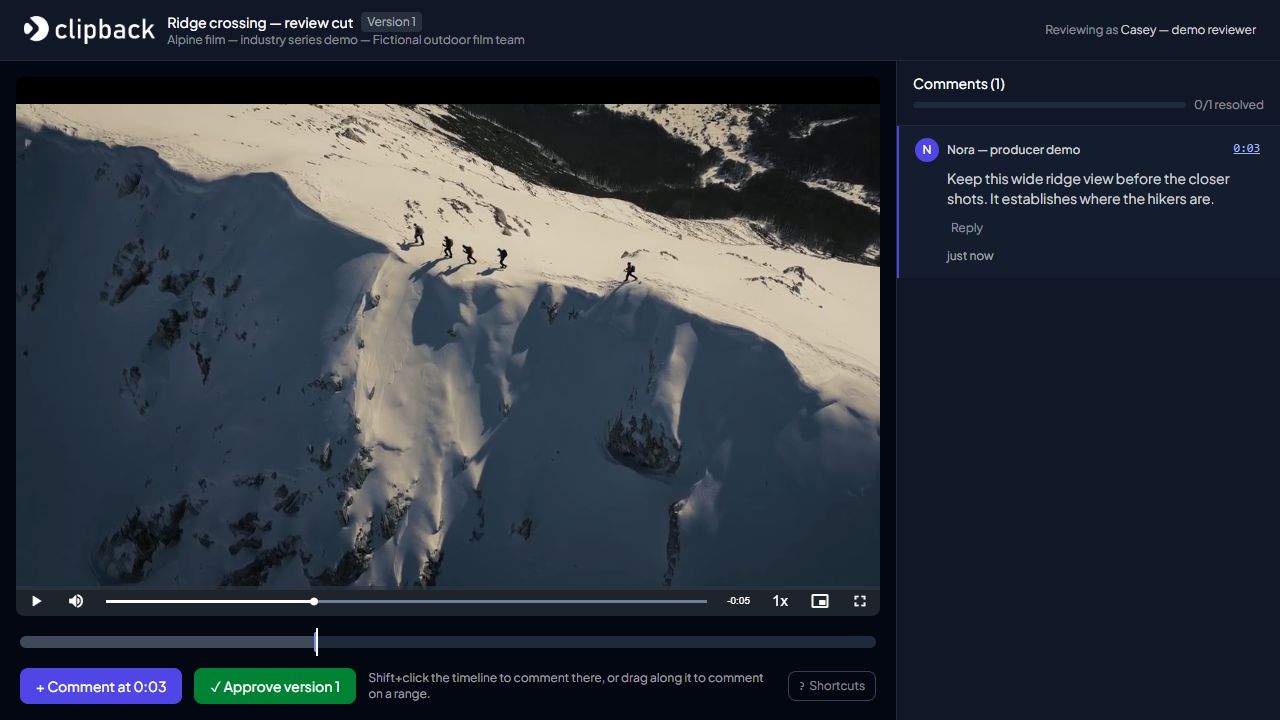
Once a review export is ready, give the client a clear place to respond. Try Clipback to share the video and collect timestamped feedback, while your editing project and source media stay organized with your team.
Technical references checked 30 October 2026. Diagram and checklist: Clipback. App screenshot freshly captured on 30 October 2026 using a fictional demo project. Demonstration footage: Epic Drone Capture of Mountain Trek in Winter by Giuseppe Paoletti / Pexels, used under the Pexels License. No creator endorsement is implied.